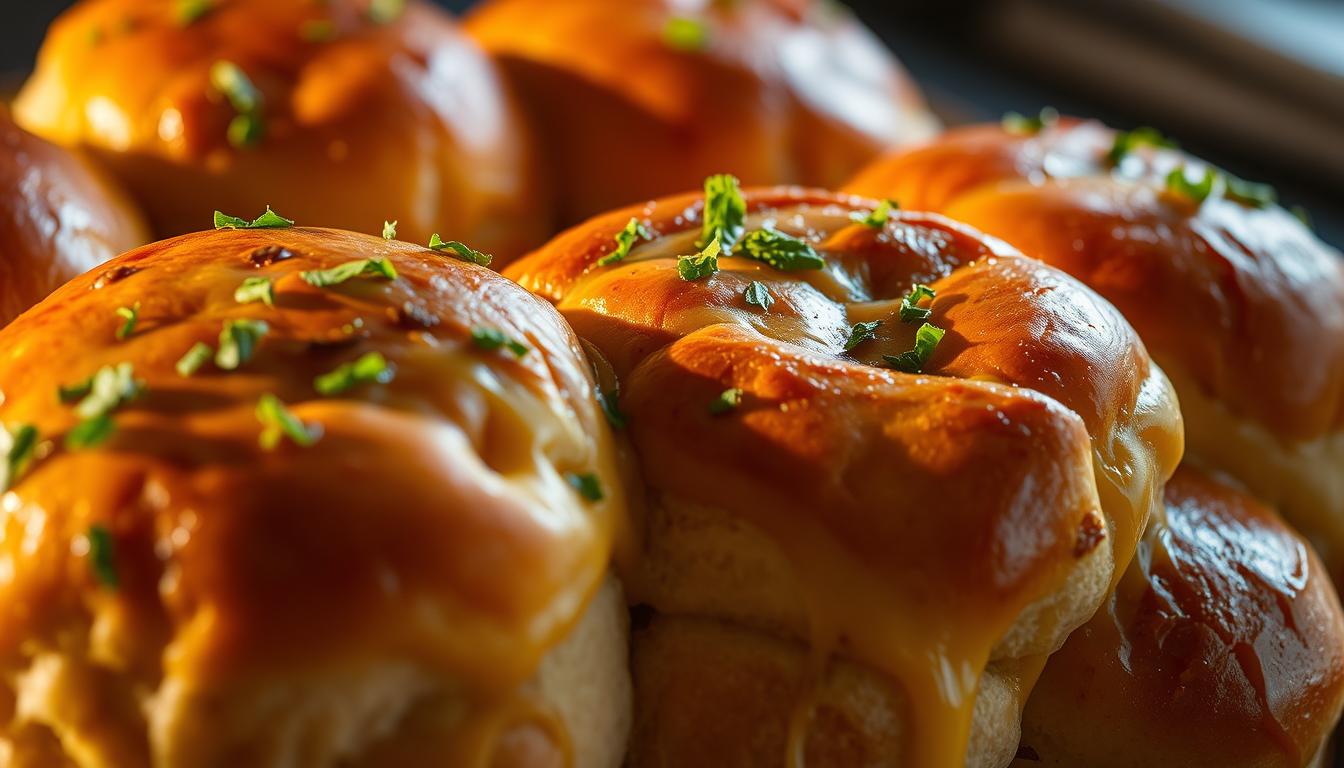
Get ready to make Cheesy Garlic Bread Pizza Bombs that are perfect for any occasion. This guide will show you how to make these tasty pull-apart pizza bites. You’ll learn why they’re a great choice for a homemade treat.
The recipe combines garlic-buttered dough with pizza sauce, mozzarella, and pepperoni. You can use store-bought dough or make your own for a richer taste. It’s a simple way to enjoy pizza in bite-sized form.
These pizza bombs make about eight servings. Prep time is 10–20 minutes, and cooking time is 25–40 minutes. Bake them for 12–20 minutes, depending on your schedule and oven.
These treats are loved by all and can be customized to your liking. Top them with garlic butter, Italian seasoning, and Parmesan. Serve with warm marinara, ranch, or hot honey for dipping. Plus, you’ll find tips on making them ahead and freezing, so they’re always ready for your guests.
Why You’ll Love This Recipe
This pizza bombs recipe is easy and perfect for gatherings. You can use pizza dough for soft bites or Pillsbury biscuits for quick, fluffy bread balls. Both options have melty mozzarella and a buttery garlic sauce.

Choose fillings like pepperoni and pizza sauce for a crowd-pleaser. You can also add cooked sausage, diced peppers, or mushrooms for variety. For a quick snack, use refrigerated dough or biscuit rounds.
Ingredients
The main ingredients are simple: pizza dough or Pillsbury biscuits, mozzarella, pizza sauce, butter, garlic, Italian seasoning, and Parmesan. You can add honey or crushed red pepper for a sweet-heat twist. Use provolone and cheddar for different cheesy bread balls.
Step-by-Step Instructions
There are three ways to make these bites. For a mozzarella tree, roll dough into strips, wrap cheese, and bake. For biscuit bombs, halve biscuits, add cheese, seal, and bake.
Remember to seal dough well and use parchment for easy cleanup. Bake times vary, so check for golden tops and melted centers.
Tips & Variations
Chill assembled bombs up to 6 hours before baking. Freeze fully baked pieces for up to 2 months. Reheat in the oven or air fryer for best texture.
Try spicy garlic pizza rolls by adding pepper jack or crushed red pepper. Swap marinara for pesto or Alfredo for different flavors. Use crescent roll dough or homemade pizza dough for texture swaps. Garnish with parsley and Parmesan for a pizzeria finish.
| Method | Main Dough | Key Cheese | Bake Temp | Bake Time | Best For |
|---|---|---|---|---|---|
| Pull-apart tree | Refrigerated pizza dough (1 lb) | Mozzarella sticks | 450°F | 15–20 minutes | Visual impact, pull-apart serving |
| Pillsbury skillet bombs | Pillsbury biscuits (8-count, split) | Shredded blend | 350°F | 25 minutes | Quick prep, gooey cheesy bread balls |
| Classic biscuit bombs | Canned biscuit dough (8 count) | Mozzarella cubes | 375°F | 12–15 minutes | Fast snacks, handheld servings |
Serving Suggestions
Serve these cheesy garlic bread pizza bombs warm for the best taste. Place them on a platter with marinara for dipping. You can also offer ranch dressing, garlic butter dip, cowboy butter, or hot honey for more options.
For gatherings, use an 8-count biscuit can or about 1 lb of pizza dough per batch. This serves roughly 4–8 people. Plan for more batches for bigger crowds or create a pull-apart pizza tree for a festive look. These cheesy bread balls are great for game day, tailgates, potlucks, and family dinners.
To prep ahead, assemble up to six hours before baking and refrigerate, or bake and freeze for longer storage. Reheat refrigerated bombs at 350°F for 5–7 minutes, or from frozen at 350°F for 10–12 minutes. An air fryer crisps the exterior quickly. Follow simple sealing tips to stop cheese from leaking: don’t overfill, use modest sauce amounts, and pinch seams tightly.
Printable elements make hosting easier. The printable pizza bombs recipe card includes the recipe title “Cheesy Garlic Bread Pizza Bombs,” yield, total time, ingredient lists for dough options, condensed assembly steps, oven temps, storage and reheating instructions, and quick tips on sealing and substitutions.
FAQs
Can you make these ahead? Yes—assemble up to 6 hours ahead and refrigerate, or bake and freeze for longer storage. Reheat in the oven or air fryer for best texture.
What dough should I use? Use canned biscuit dough for speed, refrigerated pizza dough for pull-apart presentation, or homemade pizza dough for a from-scratch approach.
How do I keep cheese from leaking? Don’t overfill, use small amounts of sauce and cheese, pinch seams firmly closed, and roll sealed balls in your hands to tighten seams.
Do pepperoni or meats need pre-cooking? Sliced pepperoni is already cooked; pre-cook raw sausage and drain before stuffing.
How do I reheat leftovers? Reheat refrigerated bombs at 350°F for 5–7 minutes, or frozen bombs at 350°F for 10–12 minutes; an air fryer also works well.
Printable Recipe Card
The printable pizza bombs recipe card will be concise and practical. It lists ingredients for each dough option, cheeses, butter-garlic mix, and fillings. You’ll find clear bake times, oven temps, yield (about 8 servings), total time (30–40 minutes), storage guidance, reheating steps, and swap ideas for cheeses and sauces.
The card also notes nutrition variability, refrigeration for 3–5 days, and freezing up to 2 months. Use it to make serving pull-apart pizza bites and party appetizers cheesy bread balls with ease while offering guests a variety of dipping sauces for pizza bombs.
FAQ
Can I make Cheesy Garlic Bread Pizza Bombs ahead of time?
Which dough should I use — refrigerated pizza dough, canned biscuit dough, or homemade dough?
How do I prevent cheese and sauce from leaking during baking?
Do pepperoni or other meats need to be pre-cooked?
What oven temperatures and bake times should I follow for each method?
How do I reheat leftovers so they stay crisp and melty?
What fillings and cheeses work best?
How many servings does a batch make and how many calories are in a serving?
What garlic-butter finishing and dipping options should I use?
Can I adapt these for dietary needs like vegetarian or spicier versions?
What equipment and tricks make assembly easier?
Finish your dinner with a treat from **Cake Dreams**.
Try a main course from our **Chicken Recipes** collection.
For more tips, visit whatfordinner

Cheesy Garlic Bread Pizza Bombs
Equipment
- Baking sheet
- Parchment paper
- Small bowl for butter mixture
Ingredients
- Dough Options
- Choose one:
- Refrigerated pizza dough 1 lb – best for pull-apart shapes
- Canned biscuit dough 8-count – best for quick bombs
- Crescent roll dough or homemade pizza dough optional swaps
- Filling
- Mozzarella cubes or shredded mozzarella
- Pepperoni slices or cooked sausage
- Optional: diced peppers or mushrooms
- 1 –2 tbsp pizza sauce use lightly to avoid leaking
- Garlic Butter Topping
- 2 –3 tbsp melted butter
- 1 –2 cloves garlic minced
- ½ –1 tsp Italian seasoning
- Grated Parmesan
- Optional: honey or crushed red pepper for sweet-heat twist
- Dipping Sauces
- Marinara
- Ranch
- Garlic butter dip
- Cowboy butter
- Hot honey
- Tools
- Baking sheet
- Parchment paper
- Small bowl for butter mixture
Instructions
- Prep Dough
- Line a baking sheet with parchment.
- If using biscuits, split each biscuit in half.
- If using pizza dough, cut into 12 equal squares.
- Fill
- Add a small amount of mozzarella and your filling of choice (pepperoni, sausage, peppers, etc.).
- Add 1 small spoon of pizza sauce only if using — don’t overfill.
- Seal
- Gather dough edges, pinch seams tightly, and roll into a ball with your hands so nothing leaks.
- Arrange
- Place seam-side down on the baking sheet.
- To make a pull-apart pizza tree, arrange balls into a tree shape.
- Brush
- Stir melted butter, garlic, Italian seasoning, and Parmesan.
- Brush generously over the bombs.
- Bake
- Bake according to your dough type:
- Pull-apart tree (pizza dough): 450°F for 15–20 minutes
- Pillsbury skillet-style bombs: 350°F for ~25 minutes
- Classic biscuit bombs: 375°F for 12–15 minutes
- Bake until golden brown and cheese is melted.
- Finish & Serve
- Brush with remaining garlic butter.
- Add Parmesan and parsley.
- Serve warm with marinara or your favorite dipping sauce.